FMP: BLOG THE WEEK

30th April – 17th June

After filming, I went through all of the footage I had and selected the best of what I had, separating all of these clips into different scenes, and exporting them separately. As well as this, I did some simple editing in order to create the desired effect I wanted, e.g. overlapping two mirror shots to make it look as though the person in the mirror is moving, but not the person stood in front of it.

1.PNG

I did this to make it easier to animate as I would only need to import one clip into Adobe Animate – the cut between the two shots is noticeable, however, this was unimportant as I’d be drawing over the frames anyway. Once I had exported each individual clip, I started animating in Animate.

Above (on the left) is showing a frame which I have drawn over in Adobe Animate, using a simple black paintbrush tool. On the right is the same frame, however, I have hidden the video in the background (this is how it will look when it is exported).

I screen recorded me using Adobe Animate to drawing over a frame of the mirror clip, showing the simplistic method I use – simply drawing the outline of the main body parts, not even including the facial features. This wasn’t the original plan, however, I didn’t like the look of the facial features being drawn over, as it would need a lot more detail to be successful. I didn’t want to add this extra detail as it would be too consuming, and would take away from the simple design I was producing.

Once I had completed the animations, I edited together what I had in Premiere Pro (this differed from my original storyboard due to underestimating how long the animations themselves would take, which I explained in my problem solving post). I produced 5 different edits of the video, to give me more options on the order of the animation clips. These are the edits I produced:

After doing this, I selected the two edits I liked best (2 and 4). I liked these two edits best as I felt the second edit did well in explaining the disorder throughout, and each piece of text slightly related to the animation which followed it. However, I liked the fourth edit as it left more of a mystery as to what the animation was about, leaving the explanation til the end. As well as this, the information is less likely to be forgotten if it isn’t surrounded by the short animations which may distract from the points being made.

It was important to then put the music with these two edits, to see which fit best. The music I chose was ‘A Model of the Universe’ by Jóhann Jóhannsson. I looked at a number of simplistic instrumentals, however, the slow piano at the start of this song worked very well with the tone of my animation.

I put this music with the edits I had chosen, and produced 3 final edits (two for the second sequence and one for the fourth sequence):

Of these edits, I like the third one the most as I feel the notes of the music fit well with the cuts in the video. As well as this, I feel the order of the clips is more successful in informing the audience on the social issue, and there is no distraction from the information or the short story the animation is telling of someone suffering from depersonalisation/derealisation disorder.

Overall, I am pleased with the final edit of the video, as well as the process of getting to it. This project has been successful, despite having to make some changes to the video itself towards the end due to time constraints. My next and final target is to produce an evaluation of the project as a whole.

FMP: BLOG THE WEEK

16th – 29th April

Using the mood board of images I produced, I began sketching some potential scenes for my animation. As well as using the images I collected, I made sure to reference the research I had done on dissociative disorders, to link to the symptoms a sufferer may experience. Through doing this, I was able to produce 10 sketches which I could use in my storyboard. I annotated these sketches to explain how they link to dissociative disorders, and the symptoms I had found out about while doing research. These sketches can be found in my animation imagery ideas post.

After producing these sketches, I put together a storyboard, using the sketches to come up with a short narrative structure. I chose the imagery I felt was most powerful in representing the possible symptoms of depersonalisation/derealisation. My storyboard can be found in my storyboard post. I wrote a small description of what was happening in each scene below each sketch to help me when filming – i.e. telling me what to film.

Producing the storyboard gave me more of a clear idea of the narrative my animation was creating. I noticed that this part of my proposal was fairly vague, therefore, I produced a second draft of my proposal, which I am now using as my final draft. I expanded more on the content of my animation, as well as why I have chosen this topic.

Once the storyboard and imagery was complete, it was time to film each scene. The filming was very simple, as I didn’t need to focus on external problems such as background noise or movement in the background, as I wasn’t using sound, and I would only animate what I wanted to from the footage. Filming went smoothly, and I made sure to get several shots of each scene to ensure I could pick the most effective shot, and that I wouldn’t need to plan time for extra filming. I now have all the footage I need for animating, and will start editing this when I get back to college.

Overall, the storyboarding and filming was very successful and I was able to complete both things without problems. The storyboard helped greatly with filming, and will also help when it comes to editing the footage ready for animation. Next, I will choose the footage I want to use, and edit this in Premiere Pro, ready to start animating each scene separately in Adobe Animate.


FMP: BLOG THE WEEK

2nd – 15th April (Half Term)

Over half term, I decided to do some research on dissociative disorders, in terms of who is affected statistically. I could use some of the statistics I found briefly in my final animation to give some information to the audience on who is affected by what is shown in the video. For example, I found that roughly 1% of people are affected by depersonalisation/derealisation – which is a statistic I could use in my animation. As well as this, I found that 50% of people will suffer from some form of depersonalisation attack at least once in their lifetime – this makes it more shocking that is is uncommonly known about, therefore, could be something I mention in my final video.

I also did some research on the type of audience I will be targeting, in order to adjust the way I present the video to suit the viewer. In order to establish what kind of audience I was aiming towards, I used YouGov to find the demographics of people who like different mental health organisations. Through doing this, I found that it was mostly women between the ages of 25 and 54. Because of this, I am going to use a girl as the main character of my animation, in order to relate more to my target demographic. I have written more about this, as well as other factors I have considered about my target audience in my dissociation/audience data post.

Once I had established a target audience, I started thinking about the type of imagery I would use in my animation. I knew the style I was going to use (black and white line drawings), however, I didn’t know the tone of the video or the type of imagery I would use. To get started, I thought about the video inspiration post I made, and began trying to find images which I could use to influence the scenes in my animation. I created a mood board with pictures I like, ready to start creating my own drawings which I will use to produce a storyboard. This is the mood board I produced:

dissociation art

The images in this mood board are very simple, and I have given me many ideas of what kind of imagery I want to include in my animation. My next step will be to use this images, as well as my own ideas, to produce some sketches.

FMP: BLOG THE WEEK

12th – 30th March

After deciding that rotoscoping would be the best method of animation for my video, I decided to do some research into rotoscoping itself and examples of it being used. I found some information on what rotoscoping is, as well as the modern day programs which can be used to produce rotoscope animations. The most common are Photoshop and Adobe Animate, therefore, I will be experimenting with both of these programs. As well as finding out about how rotoscopes are made, I found some examples of animators who have used this form of animation in their work. I used this to take inspiration from when thinking about the way my animation will look. I thought about frame rate and boiling the lines to create a smooth animation. This can be found in my rotoscope research post, and I will be using this to influence my experiments and my final animation.

As well as researching rotoscoping, I made sure to do some research on depersonalisation/derealisation, to ensure the imagery I use in my video depicts the symptoms of the disorder as best as it can. I found many symptoms which I can work off of to produce a storyboard. This information can be found in my dissociation research post.

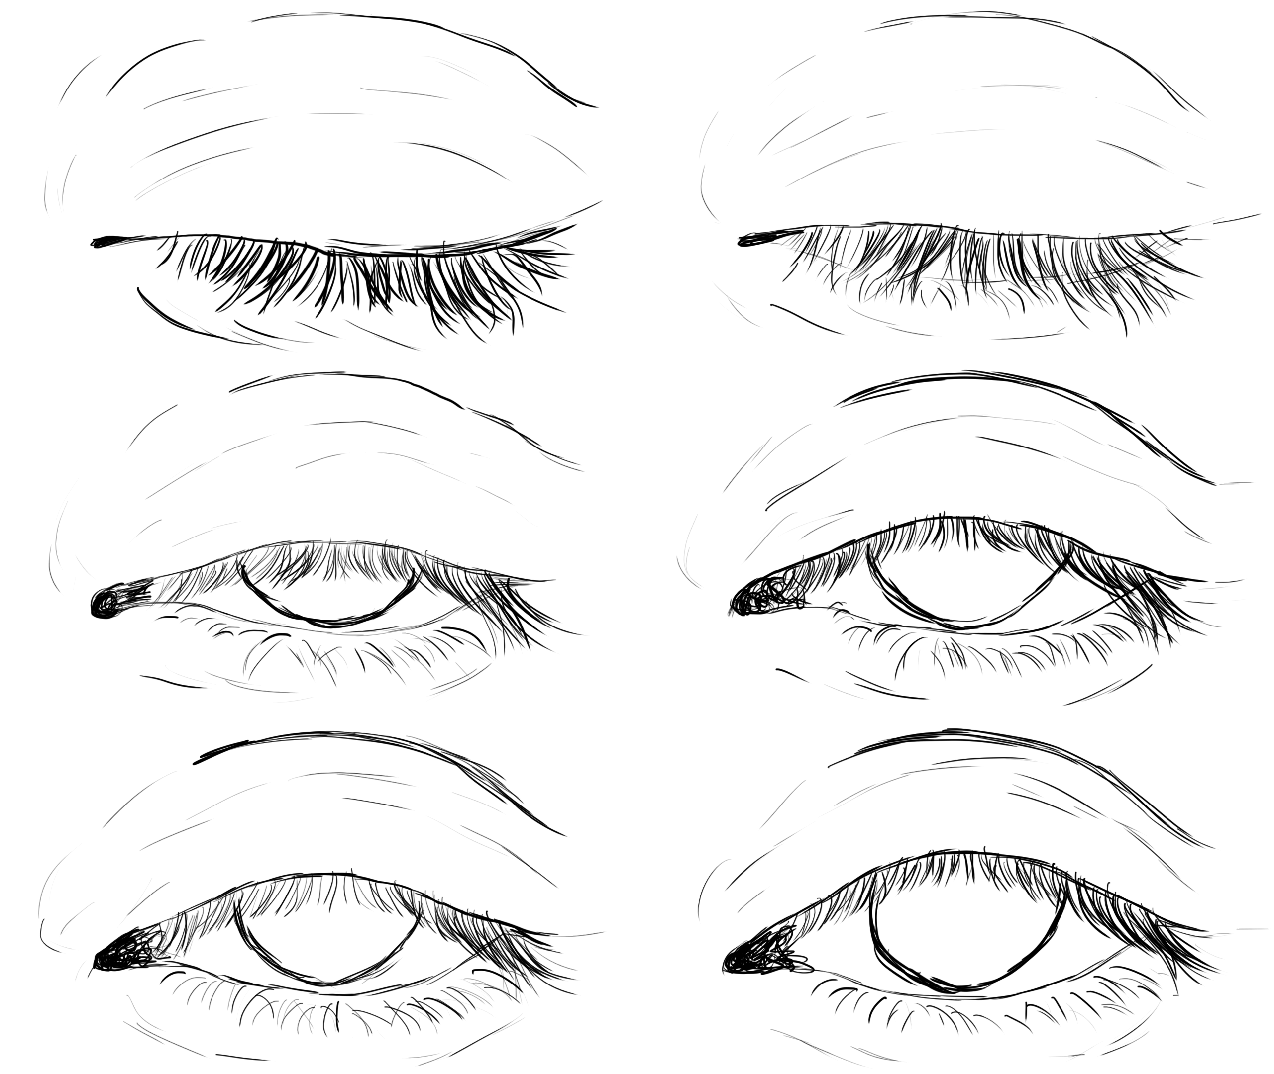
After researching methods of rotoscoping, I decided I needed to experiment with the different programs I could use – Photoshop or Adobe Animate. I, first, experimented with Photoshop as I had used this frequently before and was comfortable working with it. I produced a short animation of an eye blinking, using a clip I found on YouTube. I had to manually pick out which frames I wanted to use, keeping each layer I felt was an important frame. It was difficult to know which frame rate I was working at, as well as being unsure of whether I was keeping the right frames. Once I had sorted this I was able to easily draw over the top, however, the lines were more sketchy than I would have liked them to be. This was the outcome, which can also be found in my Photoshop experiment post:

blink-rotoscope1


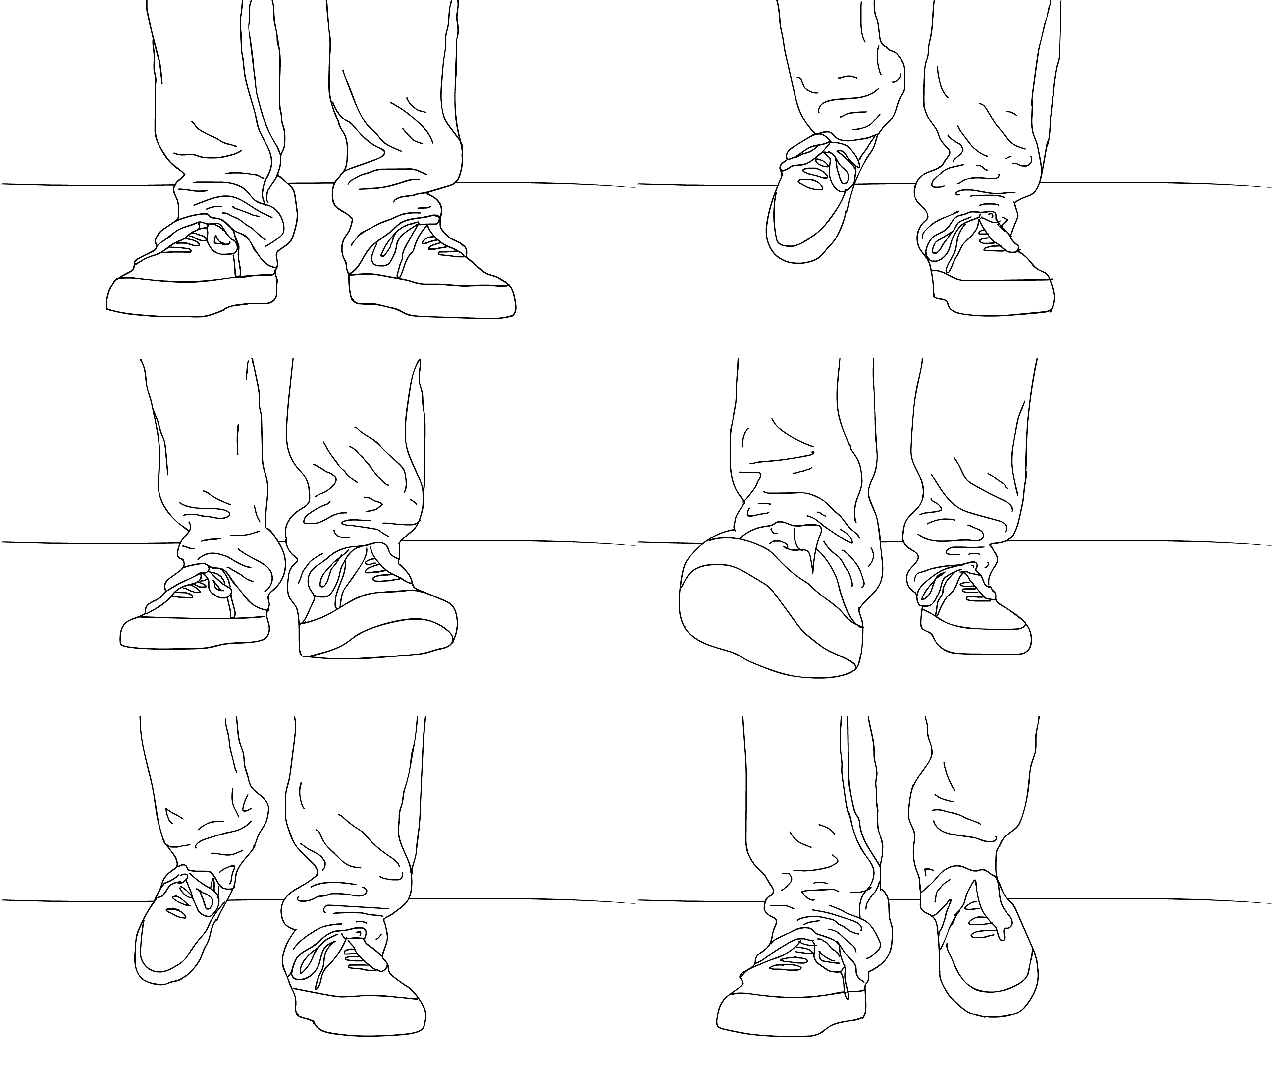
I then experimented with Adobe Animate, which was a program I had not used before, so I researched some methods of rotoscoping using Animate on YouTube. I found a few tutorials which were helpful to me, and practiced using these. Initially I had some problems with importing video, however, I was able to overcome this by toggling with some of the features. It was much easier to know what frame rate I was working at when using Animate, and I was easily able to adjust this to 12fps. As well as this, the timeline made it easy to know which frame I was working on, and I could easily choose which key frames I needed.

screen-shot-2018-05-24-at-13-49-51.png

The line drawings I produced were preferable to the ones on Photoshop, as they were smoother and less sketchy. This is the short animation I produced using Animate, which can also be found in my Adobe Animate experiment post:

walking


Overall, I am pleased with the way the Animate rotoscope looks, and I will be using this program to produce my final animation. I will continue to look at Animate tutorials, to make sure I am using it to the best of my ability, and my next step will be starting to produce imagery ideas for my animation based on my dissociation research.


FMP: BLOG THE WEEK

5th February – 9th March

I started this project by coming up with some initial ideas which I could then develop into a full idea to plan and produce. I put these initial ideas into a blog post, and have since developed these small ideas further. The animation style I want to use is rotoscoping, which I have briefly researched, but have yet to experiment with. This method of animating involves filming the images I want to use and digitally drawing over this footage frame by frame using a program such as Photoshop or Animate.

I have also decided that the social issue I would like to highlight in my animation is dissociative disorders, specifically depersonalisation/derealisation disorder. I have chosen this mental health issue as it is not commonly known, and I’d like to raise awareness of it. I’ve always been interested in Psychology since studying it in my first year of sixth form, and found out about this disorder while researching mental health disorders in my own time. It is interesting as it is fairly common, however, it is not well known (even most doctors fail to diagnose it). I will do some more research into depersonalisation/derealisation disorder, as well as finding some statistics on it which I could potentially use within my animation.

As well as thinking about the overall focus of the video, I have been doing some research into videos to inspire the look/content of the video. I produced a blog post with some of the videos I found and like in relation to my video. Some of these videos relate to the content of my animation, and some relate to the style of animation I want to produce. For example, I found a couple which highlight depersonalisation/derealisation, and have some nice imagery which I am going to keep in mind when producing my own imagery. I also found many videos which had been produced using rotoscope animation, and are simplistic line drawings. I will be using these to influence the style of animation I produce (black and white, line drawings – black lines on white background). Using these developed ideas and imagery, I was then able to write my proposal and bibliography. As well as this, I produced a time plan which will help me organise my time throughout this project.

Overall, I am pleased with the way my project is going so far as I have a good idea of what I want to produce and how I’m going to do this over the next few months. My next steps are to do some research into dissociative disorders so I know what to include in my animation, as well as researching rotoscoping. Additionally, I will need to start experimenting with methods of rotoscoping (e.g. in Photoshop and Adobe Animate). I plan to do all of this by the end of March.