12th – 30th March
After deciding that rotoscoping would be the best method of animation for my video, I decided to do some research into rotoscoping itself and examples of it being used. I found some information on what rotoscoping is, as well as the modern day programs which can be used to produce rotoscope animations. The most common are Photoshop and Adobe Animate, therefore, I will be experimenting with both of these programs. As well as finding out about how rotoscopes are made, I found some examples of animators who have used this form of animation in their work. I used this to take inspiration from when thinking about the way my animation will look. I thought about frame rate and boiling the lines to create a smooth animation. This can be found in my rotoscope research post, and I will be using this to influence my experiments and my final animation.
As well as researching rotoscoping, I made sure to do some research on depersonalisation/derealisation, to ensure the imagery I use in my video depicts the symptoms of the disorder as best as it can. I found many symptoms which I can work off of to produce a storyboard. This information can be found in my dissociation research post.
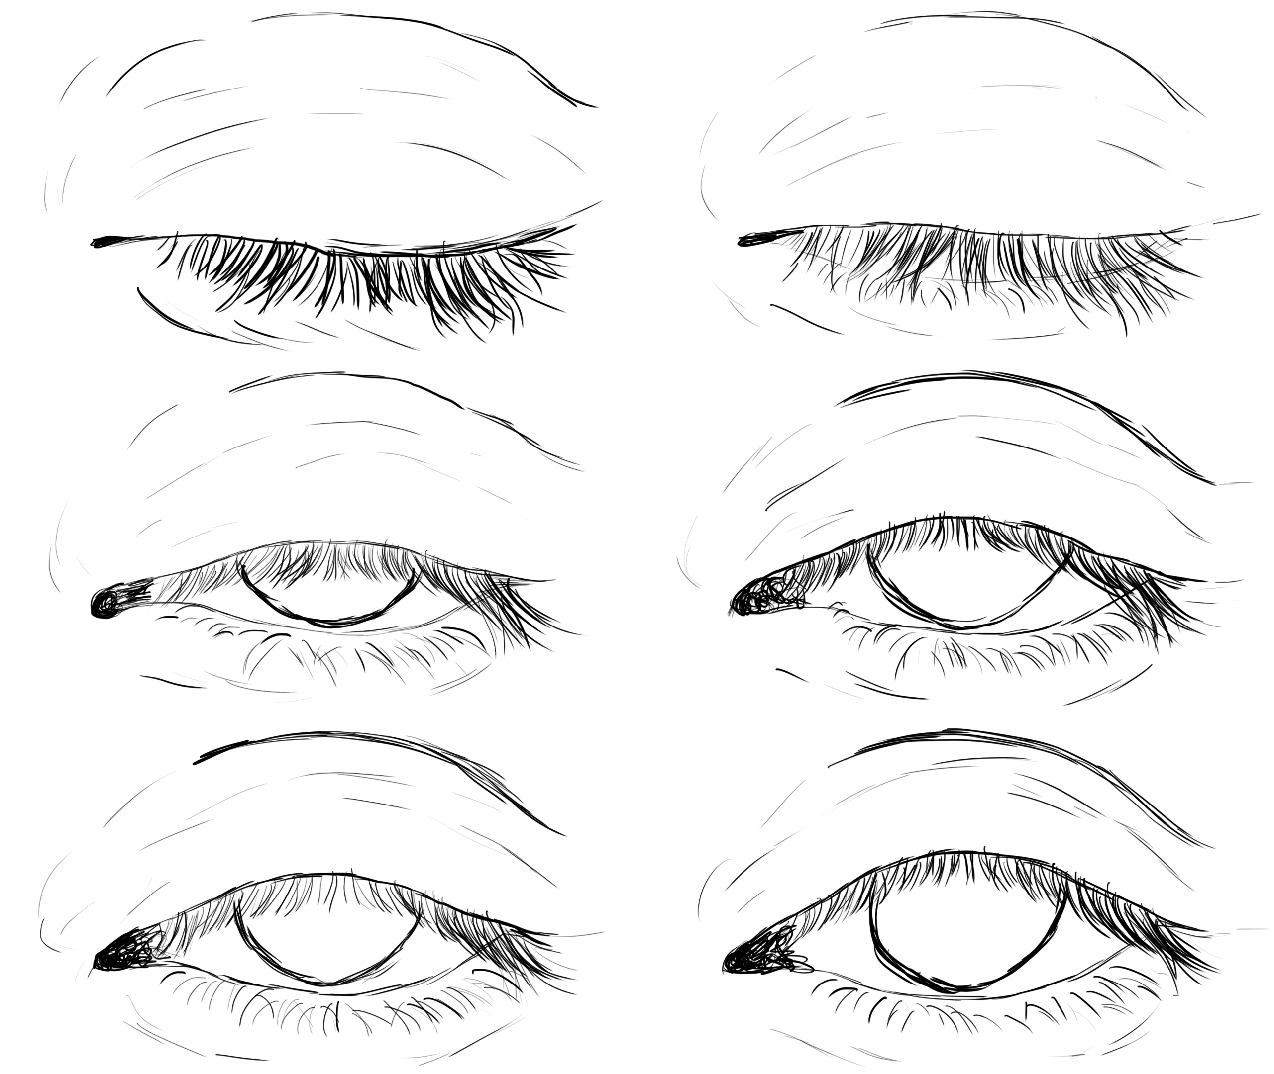
After researching methods of rotoscoping, I decided I needed to experiment with the different programs I could use – Photoshop or Adobe Animate. I, first, experimented with Photoshop as I had used this frequently before and was comfortable working with it. I produced a short animation of an eye blinking, using a clip I found on YouTube. I had to manually pick out which frames I wanted to use, keeping each layer I felt was an important frame. It was difficult to know which frame rate I was working at, as well as being unsure of whether I was keeping the right frames. Once I had sorted this I was able to easily draw over the top, however, the lines were more sketchy than I would have liked them to be. This was the outcome, which can also be found in my Photoshop experiment post:

I then experimented with Adobe Animate, which was a program I had not used before, so I researched some methods of rotoscoping using Animate on YouTube. I found a few tutorials which were helpful to me, and practiced using these. Initially I had some problems with importing video, however, I was able to overcome this by toggling with some of the features. It was much easier to know what frame rate I was working at when using Animate, and I was easily able to adjust this to 12fps. As well as this, the timeline made it easy to know which frame I was working on, and I could easily choose which key frames I needed.

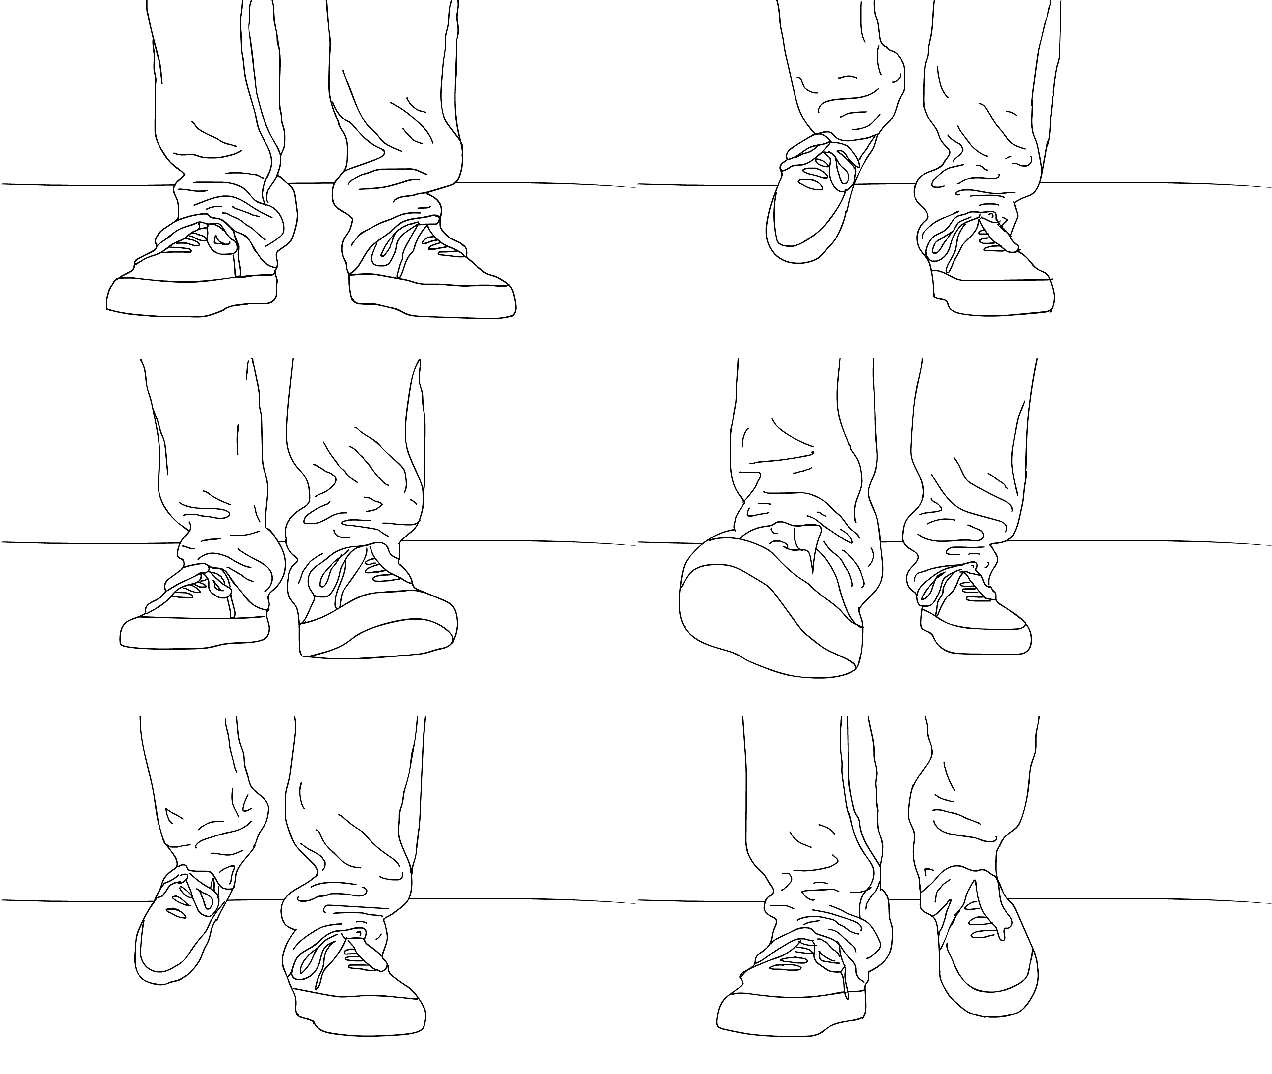
The line drawings I produced were preferable to the ones on Photoshop, as they were smoother and less sketchy. This is the short animation I produced using Animate, which can also be found in my Adobe Animate experiment post:

Overall, I am pleased with the way the Animate rotoscope looks, and I will be using this program to produce my final animation. I will continue to look at Animate tutorials, to make sure I am using it to the best of my ability, and my next step will be starting to produce imagery ideas for my animation based on my dissociation research.